Playstyle
How Deadpool plays
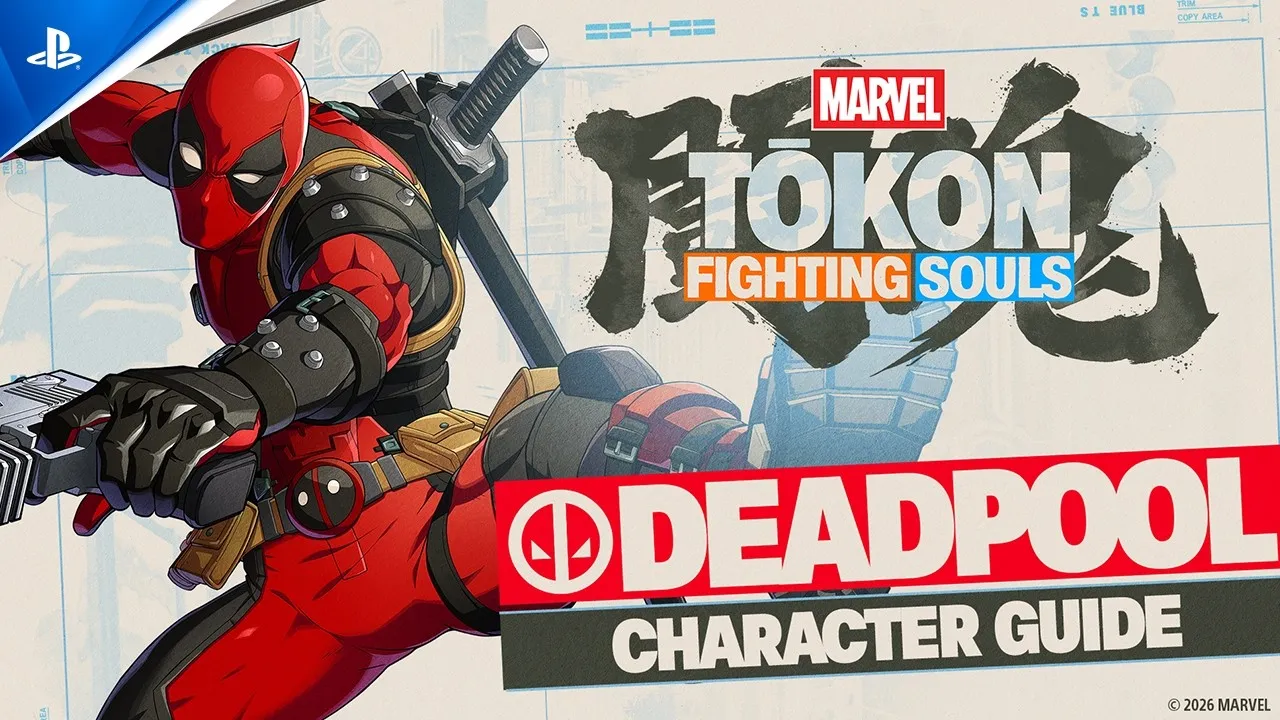
Deadpool is Tōkon's flashiest technical character: an all-range fighter built around a self-harm economy. He carries a gun (Trigger Happy zoning), two katanas (Slice 'n Dice pressure, Chimichanga Chop anti-air), a demon-flip (Death from Above), a random grenade launcher (Faulty Grenade) and even a genuine Guilty-Gear-style Roman Cancel. What ties it together is his Healing Gauge: by stabbing himself with Meat Shield or eating hits with Collateral Damage, Deadpool spends recoverable Vital life to build a resource that, once full, upgrades the Medium version of every special into a harder-hitting Fourth Wall Attack that parodies other fighting games. The developers pitch him as an all-range character for advanced players, and he plays like it.
On our launch board we place Deadpool at B — a data-limited B, not a knock on his ceiling. He was absent from the open beta, so almost nothing about him is battle-tested: Dustloop's combo page was still a stub at launch, frame data isn't public, and optimised routes and damage numbers don't yet exist. Community reads swing hard, from cautious C placements up to A with room to reach S as his tech matures. Arc System Works rates him only 3/5 for ease of use, but that number undersells his practical ceiling: the resource juggling, grenade RNG and Fourth-Wall gating make him one of the hardest characters to actually pilot well. Treat everything here as a launch-week snapshot that will move.
TokonGuide Editorial · Launch patch · August 2026
Strengths
- All-range toolkit with real answers at every distance — gun zoning (Trigger Happy), an invincible anti-air (Chimichanga Chop), a lunging launcher (Slice 'n Dice) and air mobility (Death from Above)
- Self-created power spikes: a full Healing Gauge turns his Medium specials into stronger Fourth Wall Attacks on demand, and a fully charged Meat Shield becomes unblockable
- Genuine unpredictability — Faulty Grenade's random explosive/fire/stun types plus demon-flip mix-ups are hard to pattern-read or block on reaction
- A real Roman Cancel: a Guilty-Gear-style cancel for combo extensions, pressure resets and defense — rare utility on a Marvel character
- Built-in sustain: he converts Vital life into Healing Gauge, so aggressive self-harm loops refund back into offense and recoverable health
Weaknesses
- Punishing execution and knowledge ceiling — a sprawling, still-unexplored kit where you must know exactly when each resource is worth spending
- Self-damage cuts both ways: a mistimed Meat Shield, over-held grenade or greedy Roman Cancel literally costs you life and can lose the round
- Resource-gated payoff — his best options (Fourth Wall Attacks) only exist while the Healing Gauge is full, so he is noticeably weaker before he gets going
- Unproven at launch: beta absence means no settled bread-and-butters and no public frame data, so expect holes to be found as the meta forms
Signature kit
Signature tools
Inputs
Deadpool Move List
| Move | Input | Notes |
|---|---|---|
| Meat ShieldSpecial | U (R1) · hold OK | Signature self-harm. Deadpool stabs through his own body — it strikes and can block projectiles while spending recoverable Vital life to fill the Healing Gauge. Becomes unblockable when fully charged. His main way to power himself up on his own terms. |
| Meat Shield (Crouching)Special | 2U | Grounded version that generates a projectile from his own centre while converting Vital into Healing Gauge. A low-commitment gauge-builder and combo starter. |
| Collateral DamageSpecial | 6U | Swings his weapon while enduring the opponent's hits without blocking; the damage he takes is converted into Healing Gauge. Can be re-input to chain. High risk, high reward. |
| Faulty Grenade / HeadpoolSpecial | 4U | Pulls a random grenade — Explosive, Incendiary (fire) or Stun (shock) — that detonates on hit or after a timer, and can blow up on Deadpool if he is hit or holds it too long. The follow-up alternates between throwing the grenade or throwing Headpool. The core of his unpredictable setplay. |
| Roman CancelMechanic | U+L+M+H (after a hit or block) | A genuine Guilty-Gear-style cancel: an explosion that forcibly cuts his own recovery so he can extend combos, stagger pressure or bail on defense. Costs Vital life (which feeds the Healing Gauge). Requires prior contact. |
| Fourth Wall AttacksMechanic | Medium special with a full Healing Gauge | When the Healing Gauge is full, the Medium version of each special transforms into a stronger Fourth Wall Attack that spends the gauge and homages other games — Rope-a-Dope (236M, a Mortal Kombat spear/pull), Lightning Tornado Upper (623M, a Tekken-style launcher) and Burning Haymaker (214M, a Guilty Gear charge). Held grenades can further alter them. |
| Trigger HappySpecial | 236 L/M/H · air OK | Rapid-fire pistol barrage and his main zoning tool; usable in the air to control jump space. Chip and pin from range, then close in behind it. (A returning name, confirmed as a Tōkon move.) |
| Chimichanga ChopSpecial | 623 L/M/H | Rising katana uppercut with invincibility to aerial attacks — his dedicated anti-air and reversal. Heavy version costs ~25 Skill Gauge. |
| Slice 'n DiceSpecial | 214 L/M/H | Forward lunging slash that launches the opponent for a follow-up; his best close-range combo tool and a way to close distance. |
| Death from AboveSpecial | 22 L/M/H · air OK | A demon-flip-style leap with adjustable trajectory; an extra attack input makes him strike on the way down, and the Fourth Wall 'Foot Dive' chains off it. Heavy version costs ~25 Skill Gauge. |
| Fever DreamSuper | 236 M+H · 50 Skill Gauge | His Super Skill: lunges in, then slams the opponent with a barrage of attacks. Hidden secret-command variants use special inputs; unlocking all six of Deadpool's secret commands earns a trophy. |
| Deadpool CorpsSuper | 632146 M+H (Ultimate) · 100 Skill Gauge | He lunges, launches, and calls in alternate-universe Deadpools to pile on. Also converts Vital into Healing Gauge, so on a confirmed hit it doubles as a large resource refill. |
| Normals & throwsNormal | 5L/5M/5H · j.L/j.M/j.H · throw M+H | Standard chains: the L string ends in a launching kick; the M string mixes a kick, a katana slash and a bullet spray; the H string finishes with a spinning double-katana hit. Full frame data is not public yet. |
Frame data and optimised combos are not yet public for Deadpool, who was absent from the open beta; this guide is compiled from launch-week movelist breakdowns across Dustloop, Altar of Gaming, EventHubs, DashFight and TheGamer. Move names and inputs are cross-checked against at least two Tōkon sources, and anything unconfirmed was left out. Expect revisions as the community documents routes, damage and frames. Updated August 2026.
Bread and butter
Deadpool Combos
5L > 5L > 5L (Light auto-string)
The tutorial/auto-combo string (fist, katana, launching kick) — a safe way to learn his gatling before optimised routes exist. Damage values not public.
Combo: In-game Combo Challenge
5M > 5H > Slice 'n Dice (214)
His most reliable launch-week confirm off a poke; documented as a basic route by Altar of Gaming. End in Fever Dream (236 M+H) with 50 gauge, though the super cancel is unconfirmed at launch. Damage not yet public.
Combo: Altar of Gaming
2U (Crouching Meat Shield) > Lightning Tornado Upper (623M) > 5M ×3 > follow-up
Spends a full Healing Gauge on the Fourth Wall launcher for extra damage — only available once you have self-harmed into a full gauge. Route listed by Altar of Gaming; optimal ender and damage are still being worked out.
Combo: Altar of Gaming
Frame data and optimised combos are not yet public for Deadpool, who was absent from the open beta; this guide is compiled from launch-week movelist breakdowns across Dustloop, Altar of Gaming, EventHubs, DashFight and TheGamer. Move names and inputs are cross-checked against at least two Tōkon sources, and anything unconfirmed was left out. Expect revisions as the community documents routes, damage and frames. Updated August 2026.
Game plan
Deadpool game plan
In neutral Deadpool floats between three ranges and keeps the opponent guessing which is coming. Full-screen he chips with Trigger Happy (236, air OK) gunfire and lays Faulty Grenade (4U) traps whose random type — explosive, fire or stun — forces the opponent to respect three different reactions at once. At mid-range he threatens the Slice 'n Dice (214) lunge; up close he checks jump-ins with Chimichanga Chop (623), an invincible anti-air uppercut. Death from Above (22) adds a demon-flip mix-up layer from the air. Everything is built to look ambiguous until the last moment.
His engine is the Healing Gauge, and the core decision is when to hurt himself. Meat Shield (U) and Collateral Damage (6U) trade recoverable Vital life for gauge, and taking hits fills it too. Once it is full, his Medium specials become Fourth Wall Attacks — Rope-a-Dope, the Lightning Tornado Upper launcher, Burning Haymaker — that hit harder and open new combo routes but spend the gauge. Bleeding life to power up mid-combo or before a hard read can steal a round; doing it carelessly hands the opponent a life lead you cannot cash back. Grenades add a second timer: hold them to augment specials, but hold too long (or get hit) and they detonate on you.
On defense, Roman Cancel (U+L+M+H, at a life cost) is his get-off-me and pressure-reset button — use it sparingly, because it also feeds the self-harm economy. Skill Gauge pays for the stronger special versions (roughly 25 for a Heavy special), so pace specials against your team's shared Vital Gauge. A strong pattern is to build Healing Gauge, then tag out so a Samurai Outriders partner (Blade, Ghost Rider or Loki) covers while he recovers red life. Bank meter toward Fever Dream (236 M+H, 50) as a combo ender or reversal, and save the 100-gauge Deadpool Corps ultimate — which itself converts Vital into Healing Gauge — for a confirmed punish or a round-closing burst. Because he skipped the beta, expect all of this to evolve quickly.
TokonGuide Editorial · Launch patch · August 2026
Team building
Best Teammates for Deadpool
Deadpool's canonical Samurai Outriders teammate and a sword-based point who can hold neutral and cover Deadpool while he spends life to build Healing Gauge, then confirm off the tag. Exact assist synergy is still being explored at launch.
Story teammate with long hellfire/chain reach. His space control lets Deadpool set grenades and zone with Trigger Happy from behind cover, and his assists can buy Deadpool the safe openings needed to cash in a Fourth Wall Attack.
Story teammate and trickster/zoner whose illusions and projectiles amplify Deadpool's already-unpredictable grenade RNG and fake pressure — a mind-games duo. Synergy specifics are unproven this early.
See all Marvel Tokon team comps
TokonGuide Editorial · Launch patch · August 2026
Watch and learn
Official Deadpool guide video
What the video covers
- Reckless multi-range style
- Chimichanga-themed moves
- Faulty Grenades
- Moves inspired by other fighting games
Questions
Deadpool FAQ
- Is Deadpool good, and what tier is he?
- On TokonGuide's launch board he is B — a data-limited B, not a knock on his ceiling. He skipped the open beta, so his tech is barely explored; community tier lists swing from C to A, with S-tier upside as routes develop. Arc System Works rates him 3/5 for ease of use. Expect his stock to rise once optimised combos and frame data become public.
- Is he beginner-friendly?
- Not really. The official 3/5 ease-of-use rating is generous — in practice his self-harm resource loop, random grenades and Healing-Gauge-gated Fourth Wall Attacks make him one of the trickiest characters to pilot well. New players are better off learning the game on a 5/5 pick (Wolverine, Captain America, Hulk, Ms. Marvel, Blade or Carnage) and returning to Deadpool once the fundamentals click.
- How do you play Deadpool?
- Control space with Trigger Happy gunfire and Faulty Grenade traps, anti-air with Chimichanga Chop, and lunge in with Slice 'n Dice. During and between pressure, spend recoverable life via Meat Shield or Collateral Damage to fill the Healing Gauge, then cash it into Fourth Wall Attacks for bigger damage. Manage two timers — the grenade you are holding and your own life total — and tag out to recover after you overspend.
- What are his bread-and-butter combos?
- At launch nothing is settled. A reliable starter is 5M > 5H > Slice 'n Dice (214). With a full Healing Gauge you can route through the Fourth Wall Lightning Tornado Upper launcher for more damage, and end big rounds with Fever Dream (236 M+H) or the Deadpool Corps ultimate. Optimised routes and damage values are still being documented — check back as the meta forms.
Evidence trail
Official sources
- SRC-PS-USOfficial PlayStation US product page
Sony Interactive Entertainment
- SRC-PS-SAMURAIOfficial Samurai Outriders announcement
PlayStation Blog / ARC SYSTEM WORKS
- SRC-PS-YT-GUIDESOfficial PlayStation Character Guide videos
PlayStation