Playstyle
How Magneto plays
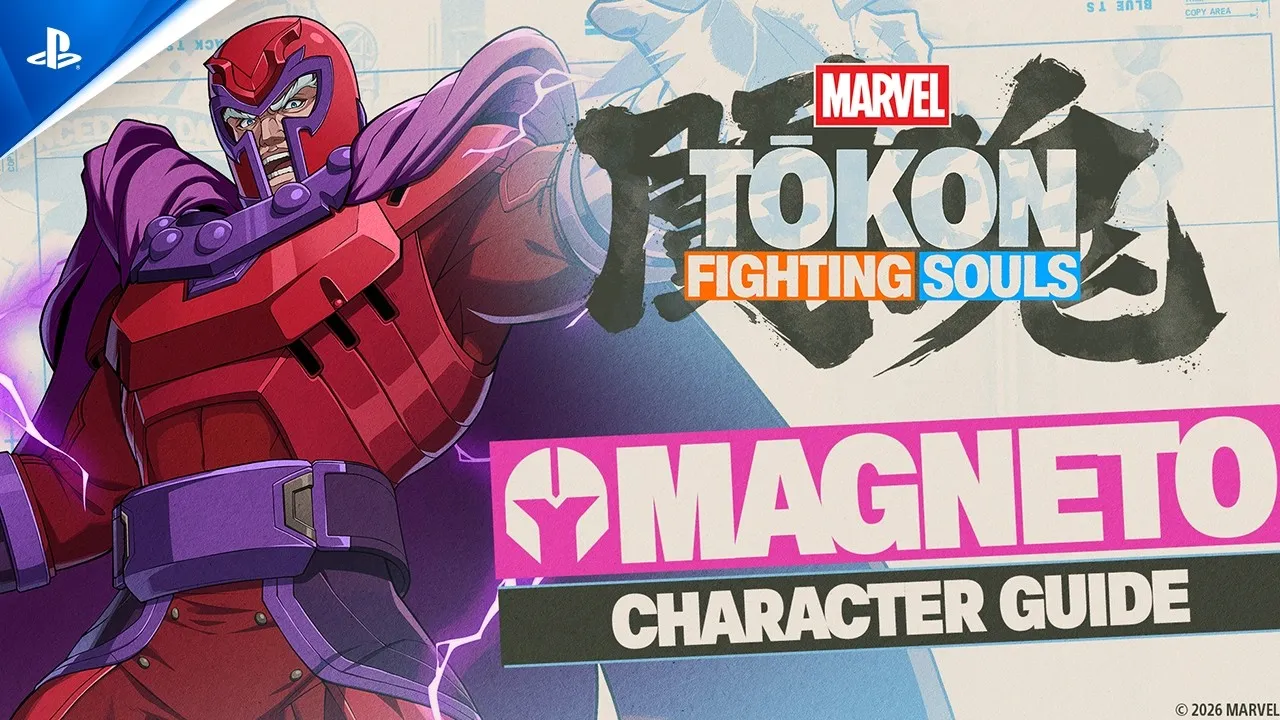
Magneto is a technical zoner who turns the stage itself into a weapon. His projectiles leave floating clouds of metal Debris, and those clouds feed back into his kit: a charged shot spends Debris to charge faster and spit out extra projectiles, his launcher dumps Debris for more height and corner carry, and his shrapnel gains homing shards. Layered on top is the Magnetize debuff, which rewrites his Skills so keep-away and rushdown collapse into one game plan — a Magnetized opponent gets dragged toward his command grab and chased by homing metal. With an eight-way air dash and true flight he floats behind his own wall, and while Debris is on screen he shrugs off enemy fireballs and assist chip. He can brawl up close too, so he is more flexible than a pure zoner.
On our launch board he sits at A (contested). He is not locked at S because his engine has real off-switches: he moves slowly with sluggish frames, Wall Breaks wipe every Debris cloud, Air Assemble Smash phases straight through his projectiles, and on an empty screen he is a mediocre-damage character who needs a moment to load up. But several community and pro launch lists already place him in S alongside Storm, Doctor Doom and Iron Man, purely for how hard he is to approach with a good assist behind him. Read A as the floor and S as a realistic ceiling.
TokonGuide Editorial · Launch patch · August 2026
Strengths
- Compounding zoning — every projectile leaves Debris, and Debris makes the next projectile faster, larger or multi-hit, so left alone he builds a screen-filling wall
- Magnetize converts zoning into offense: it pulls the opponent toward Gravity Bind and makes his shrapnel home in, giving a keep-away character real mix-ups
- Projectile/assist armor while Debris is out — he is not knocked back by enemy fireballs or assist attacks, so he wins most zoning wars outright
- Elite mobility: an eight-way air dash plus limited true flight let him reposition and approach from any angle behind his wall
- Big resource payoff — Polarity Shift, Magnetic Maelstrom and Magnetic Retribution all cash banked Debris into extra damage and corner carry
Weaknesses
- Slow, heavy ground movement and sluggish frames — he struggles to escape or contest fast, in-your-face characters once they are inside
- His whole plan has hard counters in the system: Wall Breaks erase all Debris, and Air Assemble Smash passes straight through his projectiles
- Setup-dependent — with no Debris out his Skills are ordinary and his damage is unremarkable, so rushing him before he loads up neuters him
- Meter- and commitment-hungry: Skills cost Skill Gauge, and Metallic Meteor can be destroyed by any attack, so a patient opponent can bait and blow up his zoning
Signature kit
Signature tools
Inputs
Magneto Move List
| Move | Input | Notes |
|---|---|---|
| Debris FieldsMechanic | Passive — left by Unique / Skills / Ultimate (max 3) | His resource. Metallic Meteor, his Skills and his Ultimate leave floating metal clouds (max 3). Using a Skill 'gathers' them to power it up — faster charges, extra projectiles, more height and carry. While Debris is out he ignores knockback from enemy projectiles and assists. Wall Breaks clear every cloud. |
| MagnetizeMechanic | Debuff — applied by 5U/2U, charged H, Gravity Bind, Ultimate | A debuff that rewrites his Skills: Magnetic Blast adds a ground-bounce shot, Gravity Bind auto-pulls the foe into the grab, Polarity Shift gains height, and Shrapnel Spike's extra shards home in. Lasts until a Skill connects (or he gets hit). |
| Metallic MeteorSpecial | 5U / 2U · air OK (R1 Unique) | Signature Unique and main setup tool. Hurls a metal clump; 5U travels horizontally, 2U angles it. Leaves 1 Debris on impact and Magnetizes on hit. Unusually, it can be destroyed by any attack — but still drops its Debris if broken. |
| Multi-Dash / Free FlightMovement | Dash: dir ×2 or dir+L/M · Air dash: L1+dir · Flight: hold 8 | Eight-way air dash plus limited-duration true flight — top-tier aerial mobility for repositioning and odd-angle approaches behind his Debris. His ground speed, by contrast, is slow. |
| Magnetic BlastSpecial | 236 L/M/H · air OK · holdable · ~25 Skill | Main projectile (M fires at an angle). Chargeable: charging spends existing Debris to charge faster and creates Debris equal to the charge level. Versus a Magnetized foe with Debris out it adds a ground-bounce shot. (Name shared with MvC but confirmed as his 236 projectile by Dustloop, Altar and EventHubs.) |
| Gravity BindSpecial | 623 L/M/H · ~25 Skill | Command grab. L/H catch grounded opponents; M is an air-throw for jumpers. Creates Debris on hit. If the opponent is Magnetized it pulls them in during startup — his primary mix-up and pressure reset. (Dustloop confirms 623; some sources had this swapped with 214.) |
| Polarity ShiftSpecial | 214 L/M/H · air OK · ~25 Skill | Rising launcher / anti-air with aerial invulnerability partway through. Expends all Debris on hit: L boosts corner carry, M/H add ground-bounce height (more versus a Magnetized foe). His main combo extender and damage cash-out. |
| Shrapnel SpikeSpecial | 22 L/M/H · air OK · ~25 Skill | Rains shards from a set spot; H targets the opponent's position. Spends 1 Debris to add extra shards scaled to how many you banked. Versus a Magnetized foe those extra shards track — strong lockdown and space-denial. |
| Magnetic MaelstromSuper | 236 M+H · air OK · 50 Skill Gauge | Gathers Debris around him, hits his surroundings, then rains metal down; expends all Debris to add projectiles. Standard combo ender and an in-a-pinch get-off-me. |
| Magnetic RetributionSuper | 632146 M+H (Ultimate) · 100 Skill Gauge | A big frontal strike into a massive debris barrage; Magnetizes on hit and leaves 3 fresh Debris, so it doubles as a screen reset that restarts his zoning. His highest-damage cash-out. |
| Assists & AssembleMechanic | 6A Shooter · 2A Vertical · 4A Assault · j.A Aerial · 5A Assemble Rush · 236L+A Tōkon Assemble · 5T tag-on-hit | Four call-assists mirror his own moves; Assemble Rush (5A) is the universal link-extender and 236L+A is his team super. Tagging a partner in on hit (5T) keeps pressure while Magneto resets — key to covering his slow recovery. |
| Normals & throwsNormal | 5L/5M/5H (holdable) · 2L/2M/2H · j.L/j.M/j.H/j.6H/j.2H · throw M+H | Auto-combo magic series (L→M→H) launches. A charged 5H Magnetizes and drops a Debris cloud. j.6H is a forward air hover attack that stalls; j.2H is the standard downward air ender. Throw is M+H (air throw in the air). |
Move names and inputs are verified against the Dustloop MTFS wiki (Magneto page, edited July 2026), cross-checked with Altar of Gaming and EventHubs. At launch week, frame data, damage values and optimised routes are not public yet — Dustloop's frame and combo tables for Magneto aren't populated yet and ComboTier has no Magneto data. Damage in Tōkon shows as a share of the shared Vital Gauge, not raw numbers. Treat inputs as a guide. Updated August 2026.
Bread and butter
Magneto Combos
5L > 5M > 5H > 2H > j.5H > j.2H > 5A > 236 M+H
Magic-series launch into an air string, Assemble Rush link, then Magnetic Maelstrom. Dustloop's listed example route (corner). Damage is not documented yet — Tōkon shows damage as a share of the Vital Gauge.
2M > 5H > 214M > j.M > j.2H
Grounded hit-confirm. Set a Debris cloud first (5U or 236X) so Polarity Shift (214) can expend it for the extra ground-bounce height that makes the air follow-up connect. Damage scales with Debris spent.
Combo: Altar of Gaming
Combo video: Official — Marvel Tōkon: Fighting Souls, Magneto Character Gameplay Guide
Move names and inputs are verified against the Dustloop MTFS wiki (Magneto page, edited July 2026), cross-checked with Altar of Gaming and EventHubs. At launch week, frame data, damage values and optimised routes are not public yet — Dustloop's frame and combo tables for Magneto aren't populated yet and ComboTier has no Magneto data. Damage in Tōkon shows as a share of the shared Vital Gauge, not raw numbers. Treat inputs as a guide. Updated August 2026.
Game plan
Magneto game plan
Neutral and space control: open every round by loading the screen. Throw Metallic Meteor (5U/2U) and Magnetic Blast (236X) to bank Debris — and remember a charged Blast spends Debris to charge faster while creating more, so alternate seeding and charging. Once one or more clouds are floating you win most projectile exchanges outright, because Debris lets you tank enemy fireballs and assist chip. Use flight and the eight-way air dash to stay mobile behind the wall instead of standing still, and cover a chosen space with Shrapnel Spike (22X), which homes in once the foe is Magnetized. The single rule of neutral: never let the screen sit empty, because empty Debris means ordinary Magneto.
Offense, pressure and assists: zoning and rushdown become the same plan the moment Magnetize sticks. Land a 5U, a charged 5H or a Blast to apply it, then Gravity Bind (623X) auto-pulls them into the command grab, or dash in behind a called assist. Because his own recovery is slow, lean on the team: Assemble Rush (5A) extends links, the four call-assists mirror his moves to cover approaches, and tagging a partner in on hit (5T) keeps pressure going while Magneto resets. Quick-Skill cancels let you stagger Blasts into frame-trap pressure. Convert stray hits with the magic series into Polarity Shift (214X), which dumps banked Debris for height and carry, then finish with Magnetic Maelstrom.
Defense, tag and meter: up close he is fragile, so meter and teammates are your escape valves. Polarity Shift has partway aerial invulnerability for a contested anti-air, and Magnetic Maelstrom (50) works as a get-off-me, but neither is a true reversal — don't gamble rounds on them. Respect the shared Vital Gauge: since the whole team shares life, trading into unfavourable chip is worse than resetting to neutral where Magneto is strongest. Bank toward 100 for Magnetic Retribution, which is both his biggest damage and a re-seed of three Debris that instantly restarts his zoning. Mind the counters — Wall Breaks erase your Debris and Air Assemble Smash phases through your shots, so don't over-commit near a breakable wall.
TokonGuide Editorial · Launch patch · August 2026
Team building
Best Teammates for Magneto
His Knights of Doom teammate and a premier zoning anchor. A horizontal beam/projectile assist reinforces Magneto's wall and covers his slow recovery, letting him keep seeding Debris and Magnetizing while Doom holds the ground the opponent wants.
Another elite space-control character. Her screen-filling, more vertical tools complement Magneto's mostly-horizontal Debris to lock down angles he can't, and if he gets opened up she is a fast, mobile point who can take over the round.
A portal/teleport rushdown specialist who patches Magneto's biggest weakness. Her assist punishes opponents who turtle against zoning and extends his pressure, giving him a genuine mix-up the moment the wall gets respected.
See all Marvel Tokon team comps
TokonGuide Editorial · Launch patch · August 2026
Watch and learn
Official Magneto guide video
What the video covers
- Debris resource
- Using debris to strengthen moves
- Converting debris into projectiles
- Debris-assisted combos
Questions
Magneto FAQ
- Is Magneto good in Marvel Tokon, and what tier is he?
- Yes — he is a strong launch-week pick. Our board rates him A (contested) because his zoning has real counters: slow movement, and system mechanics (Wall Breaks, Air Assemble Smash) that erase his setup. But several community and pro launch lists already put him at S alongside Storm, Doctor Doom and Iron Man for how hard he is to approach with a good assist. Treat A as the floor and S as a realistic ceiling.
- Is Magneto beginner-friendly?
- Middling — the official guide rates him about 3/5 for ease of use (in Tokon, more stars means easier). The inputs are not hard (a fireball, a DP-motion grab, plus 22 and 214 Skills), but getting value means juggling your Debris count and the Magnetize state while managing slow movement. Beginners can win just tossing Blasts and Meteors; the resource loop is where the depth — and the S-tier ceiling — lives.
- How do you play Magneto?
- Load the screen with Debris (5U + 236X), win the projectile war (Debris tanks enemy shots), and use flight and the air dash to stay mobile behind it. Magnetize the opponent, then either pull them in with Gravity Bind (623) or dash in behind an assist. Cash out juggles through Polarity Shift (214) into Magnetic Maelstrom, and save 100 gauge for Magnetic Retribution, which both kills and re-seeds your Debris.
- What are Magneto's bread-and-butter combos?
- The beginner route is the magic series into an air string and super: 5L > 5M > 5H > 2H > j.5H > j.2H > 5A > 236 M+H (corner). From pokes, confirm 2M > 5H > Polarity Shift (214) into a short air follow-up — set a Debris cloud first so the height boost triggers. Exact damage isn't documented yet: Tokon shows damage as a share of the team Vital Gauge, and early community footage puts simple Magneto routes around 40%.
Evidence trail
Official sources
- SRC-PS-USOfficial PlayStation US product page
Sony Interactive Entertainment
- SRC-PS-DOOMOfficial Knights of Doom announcement
PlayStation Blog / ARC SYSTEM WORKS
- SRC-PS-YT-GUIDESOfficial PlayStation Character Guide videos
PlayStation